

How to Paint Daisies Without Losing the Detail in White Petals
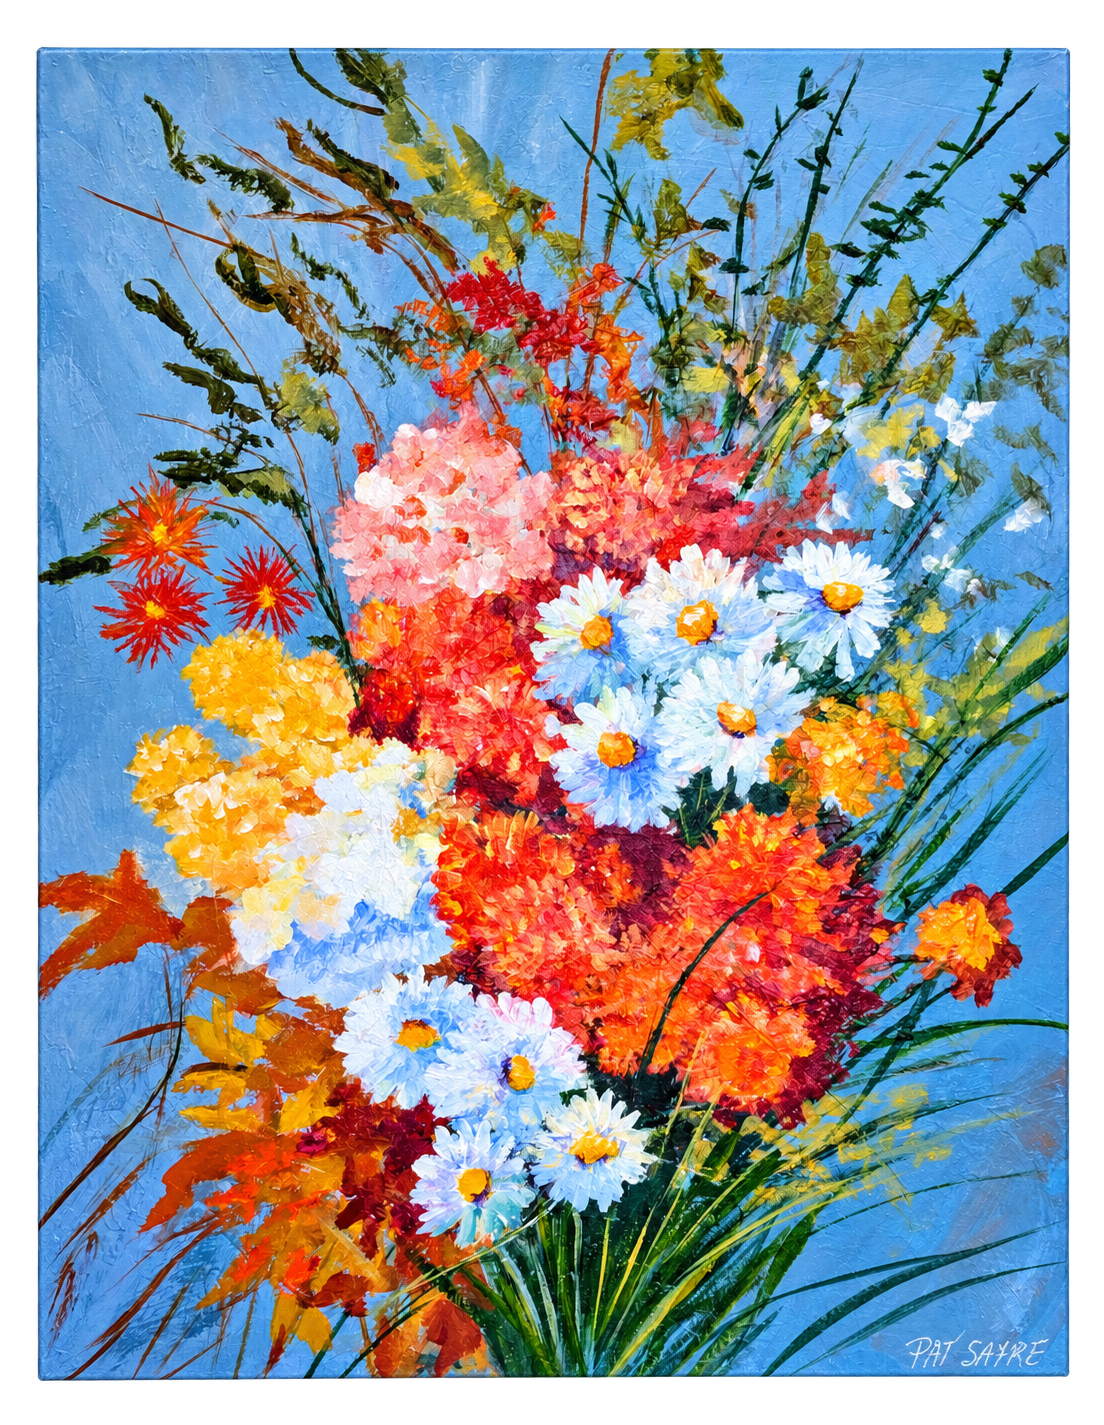
Key Takeaways
Block in oval daisy centers first with a yellow-white mix before painting petals, so they anchor placement and protect edges.
Lay a desaturated blue-green undertone outward from the center, darker near it, to map petal shadows and volume.
Let the undertone dry before layering white to prevent muddiness and preserve depth beneath petals.
Paint petals with single confident strokes using cool white, varying pressure so edges shift between soft and crisp.
Let undertone peek through thin white strokes and reserve pure white only for tips to avoid flattening form.
Why White Petals Lose Detail on Canvas
Because titanium white carries such high opacity and value, it can flatten a daisy petal the moment it touches a dark background. You lose the subtle shadow shapes that give each petal its form. The white sits on top like a solid mass, hiding the structure underneath.
If you paint pure white straight from the tube, you cover up every midtone. You lose the recesses where petals overlap and curve. This is why scumbled whites work better than flat coats. They let some of the undertone show through, keeping depth alive.
You also need soft brushstrokes to vary the edges. Hard, uniform strokes make petals look stiff and lifeless. Without this variation, your white petals become one flat, bright shape instead of a believable daisy.
Block In Oval Centers Before You Touch White
Before you load any white onto your brush, block in the daisy’s center. Use a #2 round brush and mix yellow with a touch of white. This boosts opacity and gives you a strong anchor for the petals to come.
Block in oval yellow centers that sit slightly off-center and irregular in shape. Perfect circles look fake on real flowers. This irregularity also guides your soft brushstrokes when you paint small white petals outward later.
Painting centers first keeps your white clean. If you paint petals before centers, yellow can bleed into white and dull it. Let the yellow dry, or glaze a thin blue-green wash around it. This protects crisp edges when you paint small white daisies next.
Lay a Blue-Green Undertone First
Working around that yellow center, load your #2 round brush with a muted blue-green mix—phthalo blue, sap green, and a touch of white. Keep it desaturated, not bright, so it reads as natural shadow once white covers it.
Use soft brushstrokes, stroking outward from the center to map where each petal will sit. Don’t chase hard edges; loose shapes work better here.
Make the undertone darker near the center and lighter toward the tips. This gradient gives your white daisies with acrylic a sense of volume later.
Let this blue-green undertone go skin-dry before adding white. Painting over wet undertone muddies your colors. Painting over dry undertone keeps the shadow subtle, letting white petals look bright, clean, and dimensional.
Layer White Petals Without Flattening the Shape
Once your undertone dries, mix a small amount of titanium white into a touch of Payne’s gray or diluted phthalo blue. This keeps your white opaque but still cool enough to hold shadow. Load a #2 round brush and paint each petal with one confident outward stroke. Vary your pressure as you go, so some brushstrokes stay soft and others snap into a crisp edge. This contrast builds believable form.
Don’t scrub back into wet paint. Let the undertone peek through in thin spots instead of covering it completely. This layering keeps the petal looking dimensional, not flat. Once the first pass sets, add pure white highlights only on tips and raised edges. Stop there—extra strokes flatten what you’ve built.
To incorporate your daisies into a colorful meadow scene, follow our guide on how to paint wildflowers with acrylic paint, which covers backgrounds, grass, and mixed flower clusters.
Fix Muddy or Overworked Daisy Petals
Even careful painters end up with muddy petals sometimes. Don’t panic, and don’t scrub. Scrubbing mixes wet pigment and makes things worse. Instead, switch to a smaller, stiffer brush. Gently lift the excess acrylic paint, dabbing rather than dragging. If edges look soft or blurred, a clean, dry round brush can lift stray paint without smearing.
Let the layer dry completely before fixing it. Painting over wet, muddy paint only deepens the problem. Once dry, add a fresh thin layer of white, tinted slightly with the blue-green undertone, to restore crisp brushstrokes for a soft floral look.
Work in single strokes, not repeated passes. Patience keeps your soft floral daisies clean, bright, and full of dimension.
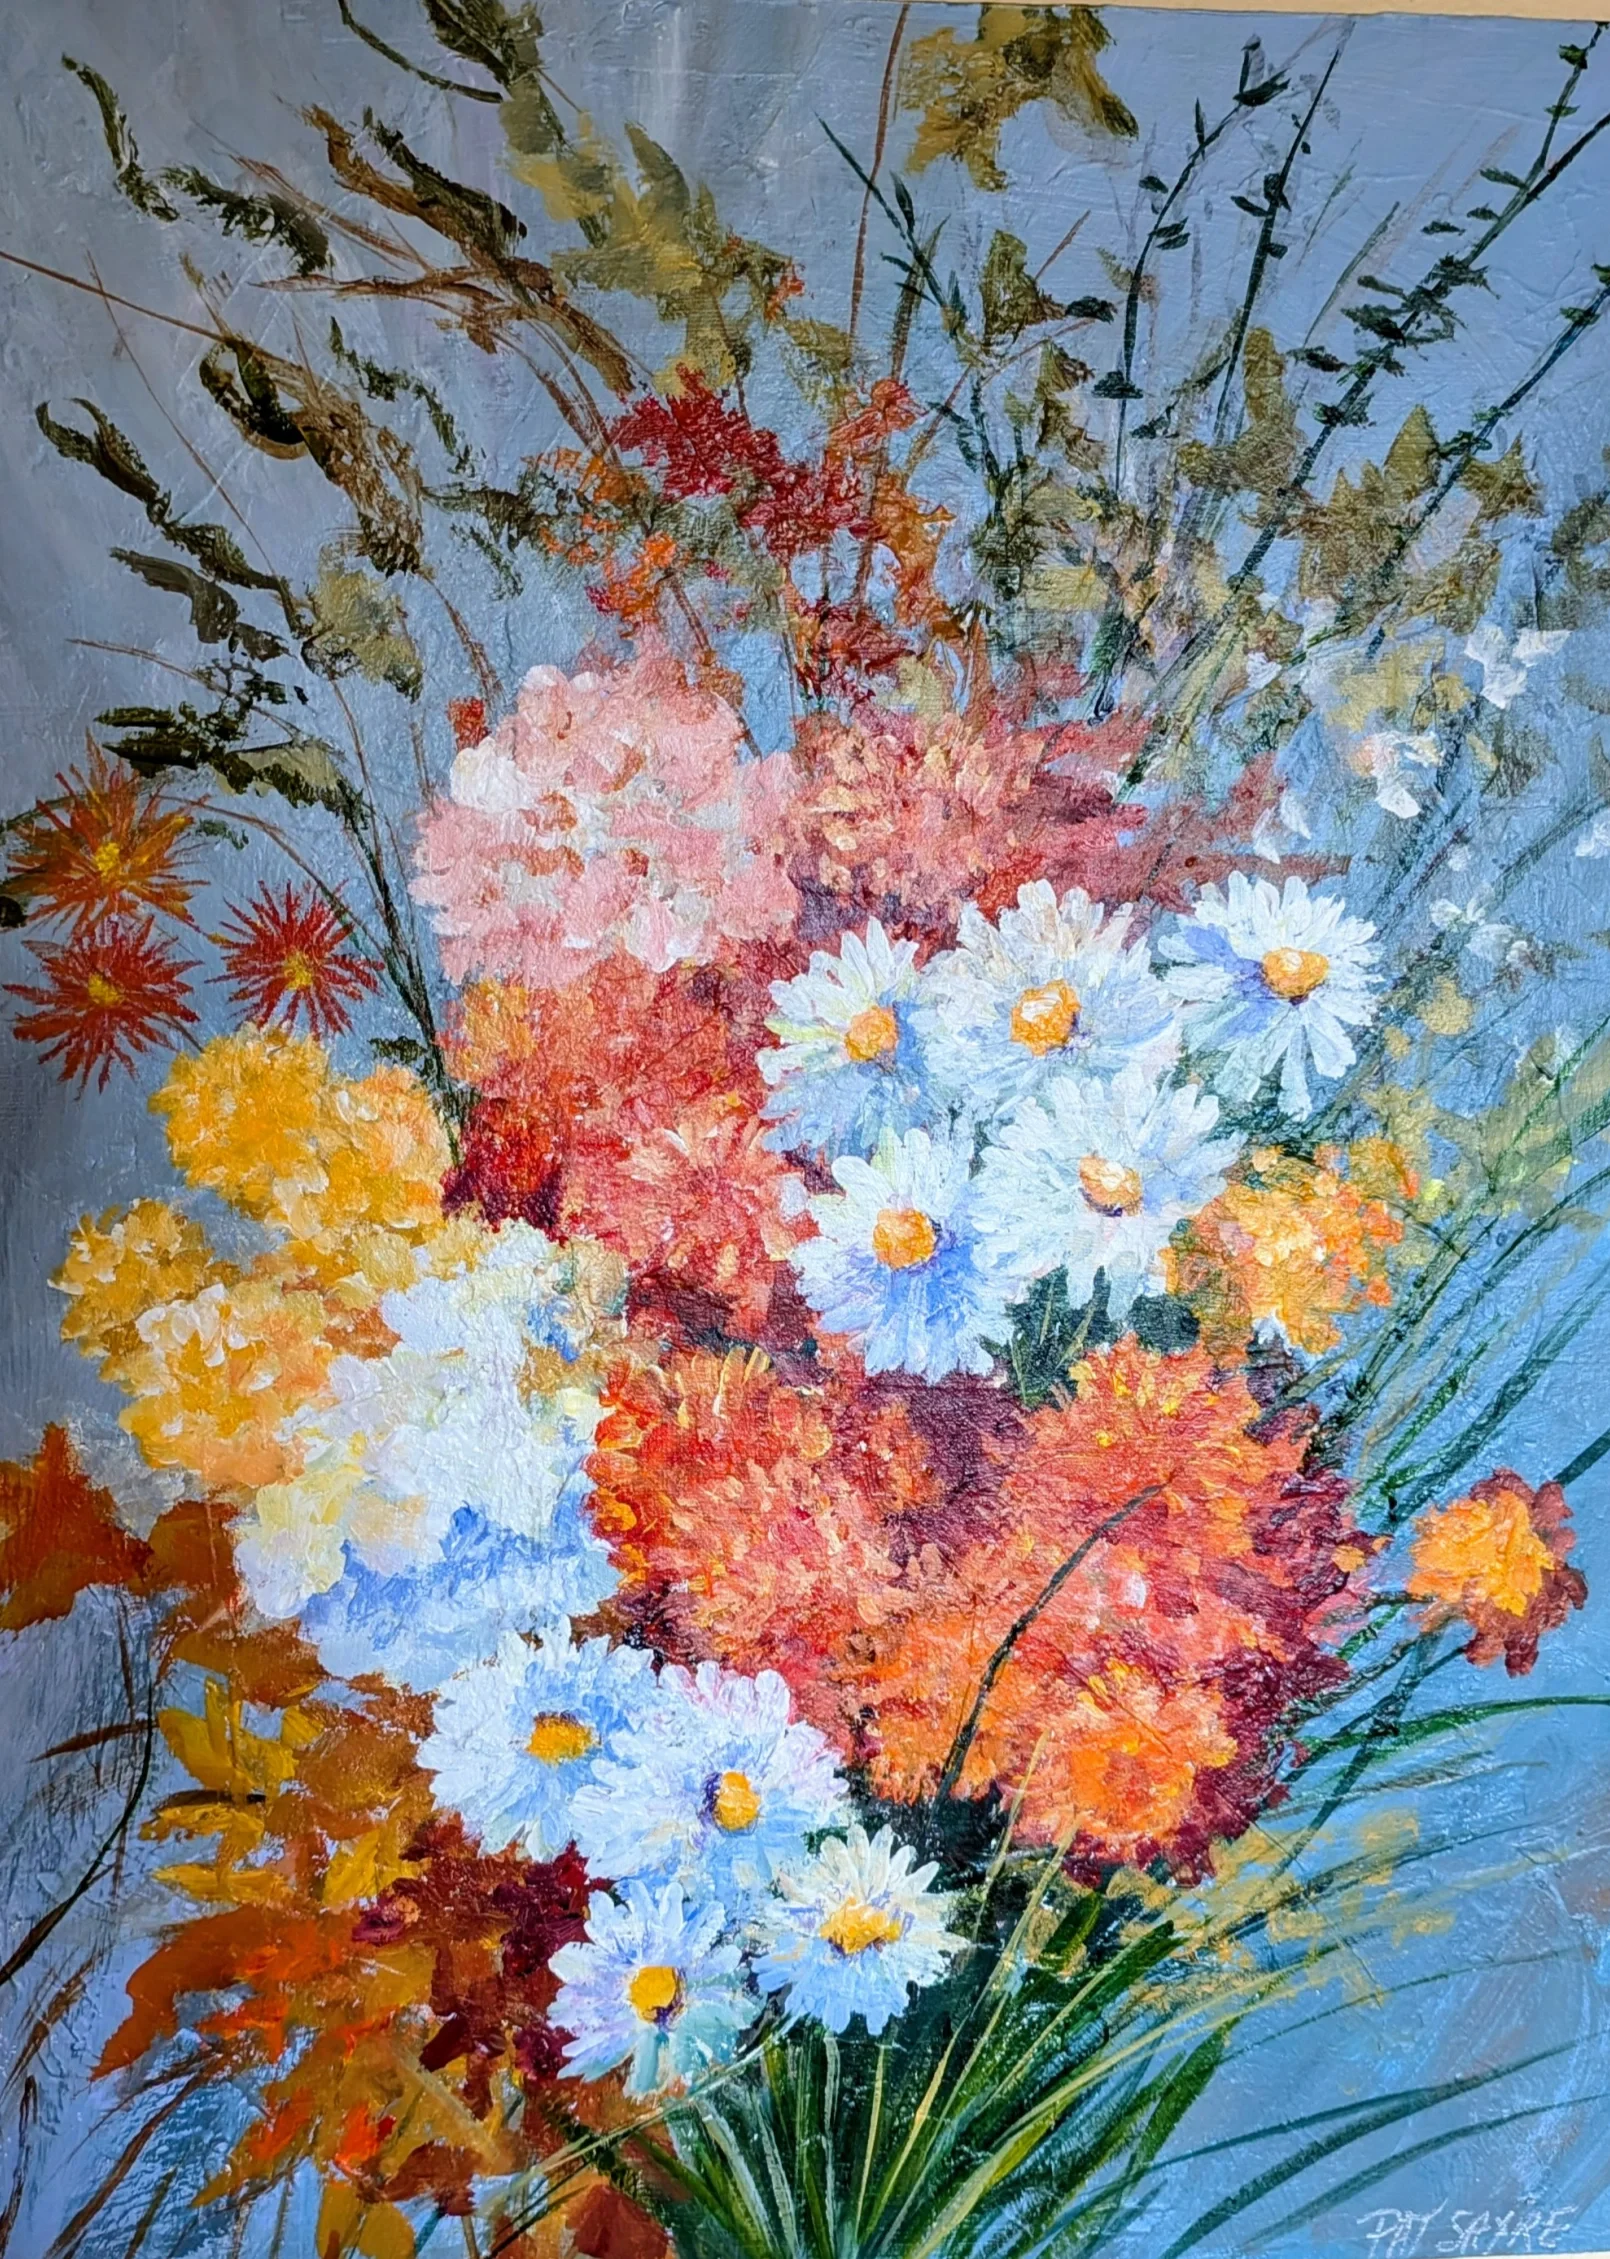
Frequently Asked Questions
How to Paint Daisies for Beginners?
Start with yellow-white oval centers using a #2 round brush. Add a blue-green undertone for petals. Then stroke petals outward, varying pressure. Let undertone show through. Finish with tiny yellow highlights for natural light.
What Does Adding Rubbing Alcohol to Acrylic Paint Do?
Adding rubbing alcohol thins your acrylic paint’s surface tension, so it dries faster and flows smoother. You’ll get softer edges and less brush drag on white petals. Just don’t overdo it, or layers may flake later.
What Does Giving Someone a Daisy Mean?
You’re sharing innocence and purity. You’re also showing loyal, cheerful love. If it’s white, you’re stressing simplicity. If it’s yellow, you’re spreading joy. Daisies keep things light, honest, and uncomplicated between you two.
How to Paint With Flower Petals?
Start with a blue-green undertone, not pure white. Use a #2 round brush and paint petals from the center out. Let shadows peek through, mix in yellow or gray, and keep edges loose.
In Conclusion
You don’t need pure white to paint daisies that pop. Start with your centers, build that blue-green shadow layer, then add white in thin layers. Let each layer dry before you add the next. If petals start looking muddy, don’t panic. Scrape back, let it dry, and try again. Take your time with these steps, and you’ll keep every petal crisp and full of light.